Top Benefits of Face Serum and How It Works for Your Skin
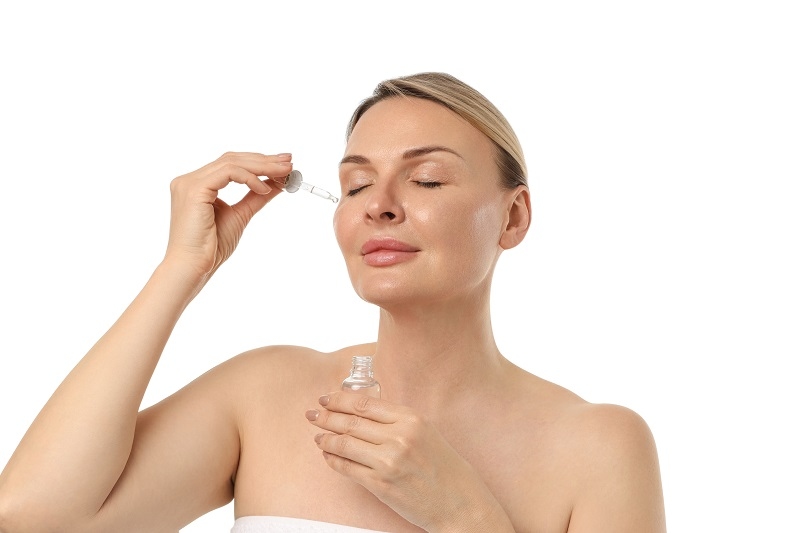
Face serums are something that people can not do without in their beauty regimens. They are light, absorb quickly, and are loaded with active ingredients that deliver visible results. However, when you have probably asked yourself the question, What does serum do to your face, then this blog will clear everything up. Whether it is the benefits of face serum, how to apply face serum, or even how to make your DIY face serum, we pretty much have everything simplified.Understanding Face SerumsSo, let's begin with the basics. So what is a face serum? What is its difference between a moisturizer and a toner? This part assists in defining why serums exist and why it has become so trendy.What Is Face Serum?Face serum refers to a lighter skincare product, which is used to carry high amounts of active ingredients to the skin. Creams or moisturizers, unlike serums, which are viscous, the serums are more watery or oil-based. They are able to go deep into the skin and address particular concerns such as dryness, wrinkles, acne, dark spots, or dullness.Why Face Serums Are So PopularThe face serums have become more popular as they have a higher effect and speed as compared to normal creams. Because of a large number of active ingredients such as Vitamin C, Hyaluronic Acid, Retinol, and Niacinamide, even a drop of the product is enough to notice the effect.Key Benefits of Face SerumSerums are more than just another skincare step-they deliver real results. Here's a breakdown of the top benefits of serum on the face for different skin types and concerns.Hydration and Moisture BoostOne of the major benefits of face serum is that it helps keep your skin hydrated. Serums with ingredients like Hyaluronic Acid attract moisture into the skin, making it look plump and fresh.Fights Fine Lines and WrinklesAnti-aging serums often contain Retinol, Peptides, or Vitamin C-ingredients known to reduce the appearance of wrinkles and improve skin elasticity over time.Brightens Dull SkinIf your skin looks tired or uneven, a serum with Vitamin C can help. It evens out skin tone, fades dark spots, and gives your face a radiant glow.Controls Acne and BreakoutsFor oily or acne-prone skin, face serums with Salicylic Acid, Niacinamide, or Tea Tree Oil can reduce breakouts and prevent future ones. These ingredients clear clogged pores and reduce redness.Reduces Pore SizeSome serums help shrink enlarged pores and make your skin smoother. This is especially helpful for those with oily or combination skin.Lightweight But PowerfulSerums are thin and non-greasy, making them ideal for layering with other products. They're perfect for those who don't like heavy skincare but still want effective results.What Does Serum Do for Your Face Daily?You might be wondering what will happen if you use a face serum regularly. This section walks through the long-term and short-term improvements you can expect.Improves Skin TextureOver time, serums can help make your skin softer, smoother, and more even. You'll notice fewer dry patches and a more uniform tone.Strengthens the Skin BarrierMany face serums support the skin's natural barrier, especially those with ceramides and niacinamide. A healthy barrier means fewer breakouts, less sensitivity, and better hydration.Makes Other Products Work BetterBecause serums prep your skin, they allow other products-like moisturizers or sunscreens-to absorb more easily and work more effectively.How to Apply Face Serum CorrectlyApplying a serum the right way ensures that you get the maximum benefit. This section explains the steps to follow in your skincare routine.Cleanse FirstStart with a clean face. Use a gentle cleanser to remove dirt, oil, and makeup before applying your serum.Apply to Damp SkinFor most serums (especially hydrating ones), it's best to apply them to slightly damp skin. This helps lock in moisture and enhances absorption.Use 2-4 DropsYou only need a small amount-usually 2 to 4 drops are enough for the whole face. Dab the serum onto your cheeks, forehead, and chin.Pat, Don't RubGently press or pat the serum into your skin using your fingertips. Avoid rubbing, which can irritate.Follow with MoisturizerWait a minute or two, then apply your regular moisturizer to seal in the serum and add extra hydration.Best Time to Use Face SerumWondering when to apply your serum? Morning or night-or both? Let's explore the timing based on your skin needs.Morning RoutineIn the morning, use serums with Vitamin C or Antioxidants to protect your skin from pollution and sun damage.Night RoutineAt night, go for serums with Retinol, Peptides, or Acids (glycolic or lactic acid) to promote skin renewal while you sleep.Different Types of Face SerumsSerums come in various types depending on your skincare goals. This guide helps you choose what's best for you.Hydrating SerumsBest for: Dry, flaky, or dehydrated skinKey ingredients: Hyaluronic Acid, GlycerinAnti-Aging SerumsBest for: Wrinkles, fine lines, mature skinKey ingredients: Retinol, Peptides, Coenzyme Q10Brightening SerumsBest for: Dull skin, uneven tone, pigmentationKey ingredients: Vitamin C, Licorice Extract, NiacinamideAcne-Fighting SerumsBest for: Oily, acne-prone skinKey ingredients: Salicylic Acid, Tea Tree Oil, ZincCalming SerumsBest for: Sensitive or irritated skinKey ingredients: Aloe Vera, Chamomile, Green TeaDIY Face Serum at HomeWant to keep things natural and affordable? Try making your DIY face serum at home. It's simple and can be customized to your skin type.Basic DIY Serum for Glowing SkinIngredients:2 tbsp rose water1 tbsp aloe vera gel5 drops vitamin E oil3 drops essential oil (lavender or tea tree)How to Make:Mix all the ingredients in a small glass bottle.Shake well before each use.Apply 3-4 drops daily before moisturizing.Benefits of DIY SerumsYou know exactly what's going on with your skin.It's cost-effective.You can mix ingredients based on your skin's needs.Common Mistakes to AvoidEven though serums are easy to use, some mistakes can reduce their effectiveness.Using Too Much ProductA little goes a long way. Using more serum than needed won't make it more effective-it may irritate your skin.Skipping MoisturizerSerums are not meant to replace moisturizers. They need to be sealed in with a cream to lock in the benefits.Not Using SunscreenIf your serum contains ingredients like Vitamin C or Retinol, always apply sunscreen to avoid sun damage.ConclusionSo, what does a face serum do? In a nutshell, it provides localized skin care effects within a short period and at a deeper level as compared to other products. No matter how to hydrate, make your skin look brighter, eliminate acne, or counter signs of aging, there is a serum that can help.After learning how to use the benefits of serum on the face, how to apply face serum, and even how to make DIY face serum, you now know how to improve your face regimen. The most important thing is consistency, use your serum every day, put a good moisturizer and bring it along with sunscreen. As time goes by, your skin will appreciate you when it looks healthy and glowing.